The smoky eye makeup look is a timeless classic that never goes out of style. Whether you’re prepping for a night out or a special event, the allure of a sultry, dramatic eye is hard to resist. However, achieving the perfect smoky eye requires technique, patience, and the right products. In this article, we’ll break down how to create a perfect smoky eye from the basics to the more advanced techniques. By the end of this guide, you’ll be equipped to master this bold and sexy look like a pro!
Step 1: Gather Your Tools and Products
Before diving into the process of creating the smoky eye, it’s essential to have all the tools you’ll need. These include:
- Eyeshadow primer – To ensure your makeup stays in place all night long.
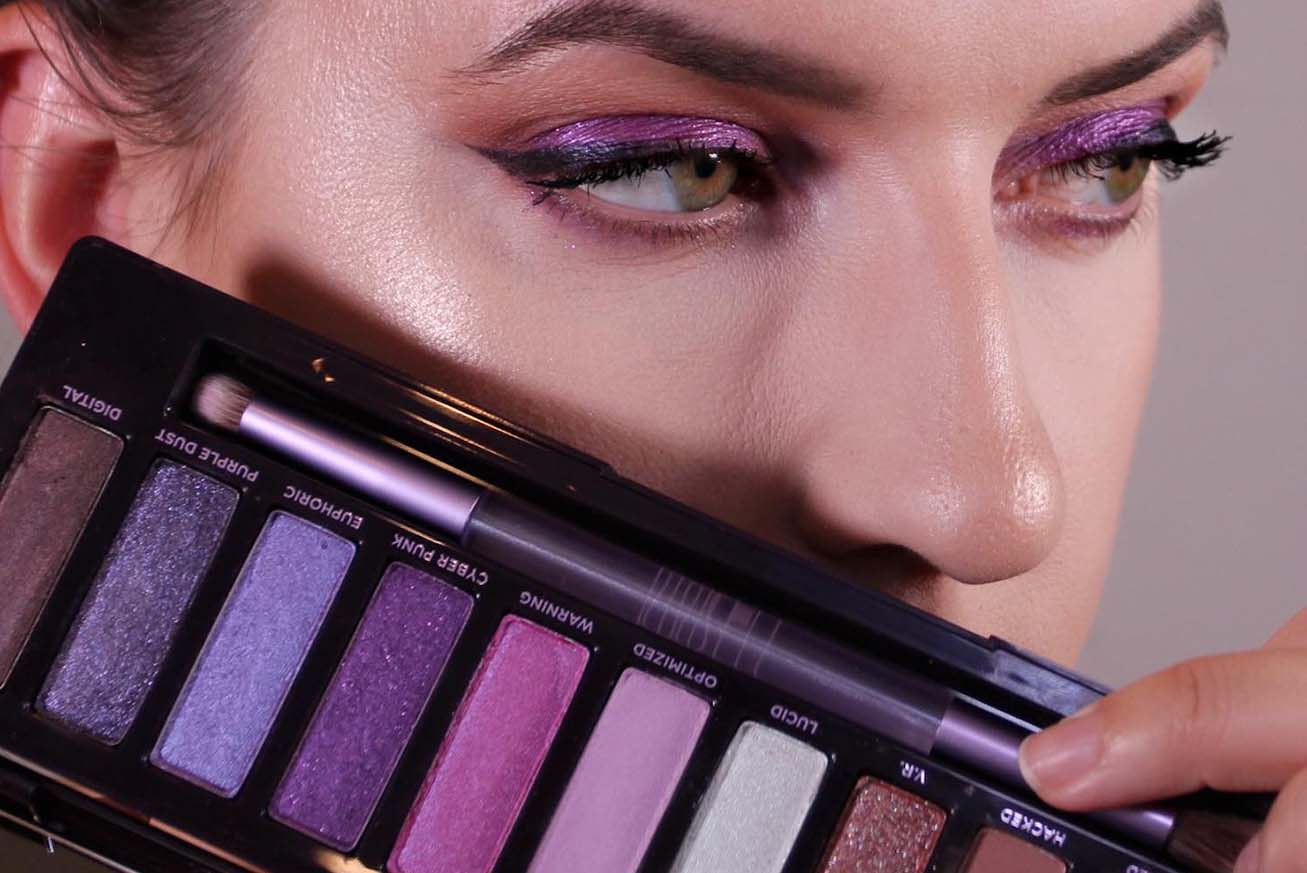
- Eyeshadows – A blend of neutral and dark shades will give you that signature smoky look. Typically, a combination of matte and shimmer shadows works best.
- Eyeliner – Gel or pencil eyeliner in black or brown.
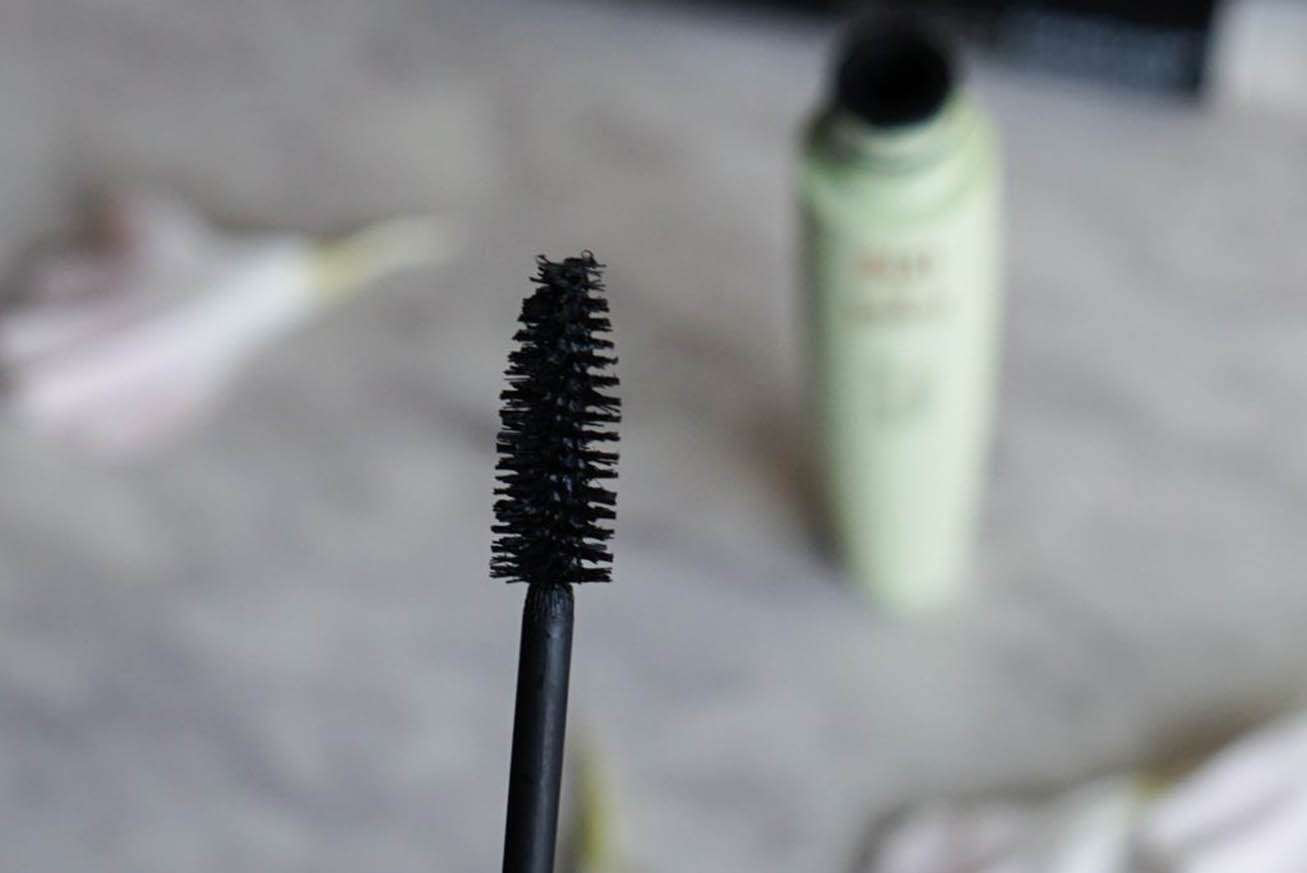
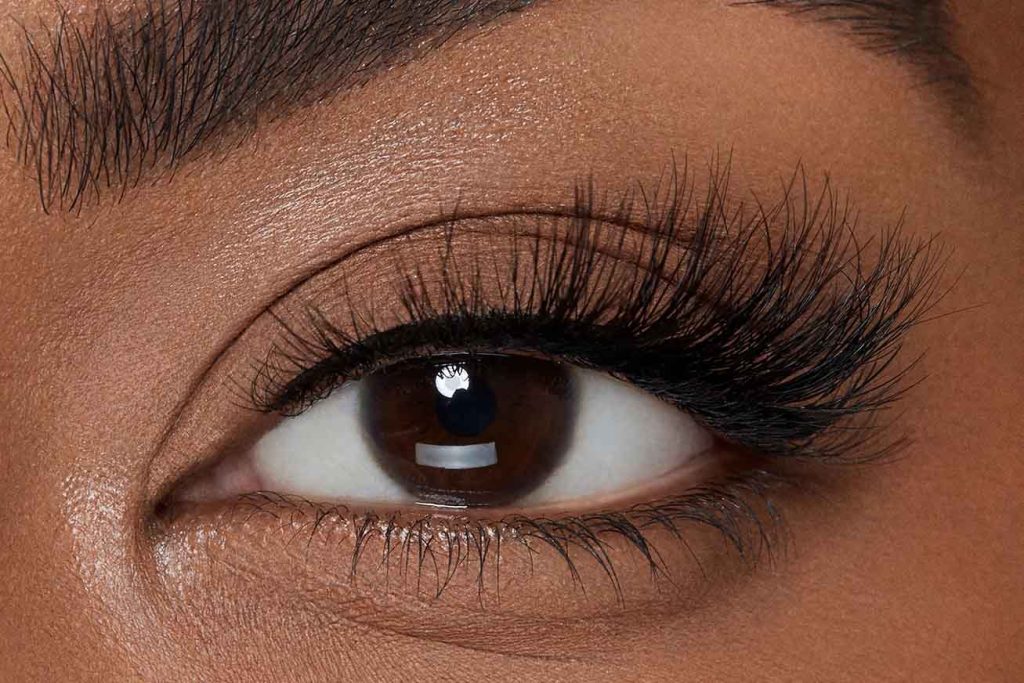
- Mascara – Volumizing mascara to accentuate your lashes.
- Brushes – You’ll need several brushes, including a fluffy blending brush, flat shader brush, pencil brush, and an angled liner brush.
- False lashes (optional) – To intensify your look further, consider adding false lashes.
Step 2: Prime Your Eyes
The first step in any makeup look, especially when working with darker colors like those used for a smoky eye, is priming your eyelids. Primer helps to create a smooth surface for the eyeshadow, prevents creasing, and ensures that your makeup lasts all day (or night). Apply a thin layer of eye primer across your eyelids, making sure to blend it in evenly from the lash line to the brow bone. Allow it to set for a minute before applying eyeshadow.
Step 3: Apply a Base Eyeshadow Color
The base eyeshadow color sets the tone for your entire look. For a classic smoky eye, it’s best to start with a neutral tone, like a soft beige or light taupe. Using a fluffy brush, sweep this shade across your eyelid, covering the entire lid from the lash line to the crease. This will serve as a foundation to blend the darker shades later on.
Step 4: Add Depth with a Transition Shade
To give your smoky eye some dimension, you’ll want to use a medium brown or warm neutral shade as a transition color. The transition shade should be a bit darker than your base color and should be applied just above the crease of your eyelid. Use a fluffy blending brush to blend this color in circular motions, diffusing any harsh lines. This step ensures a seamless gradient from light to dark and creates a more natural-looking blend as you add more intensity with the darker shades.
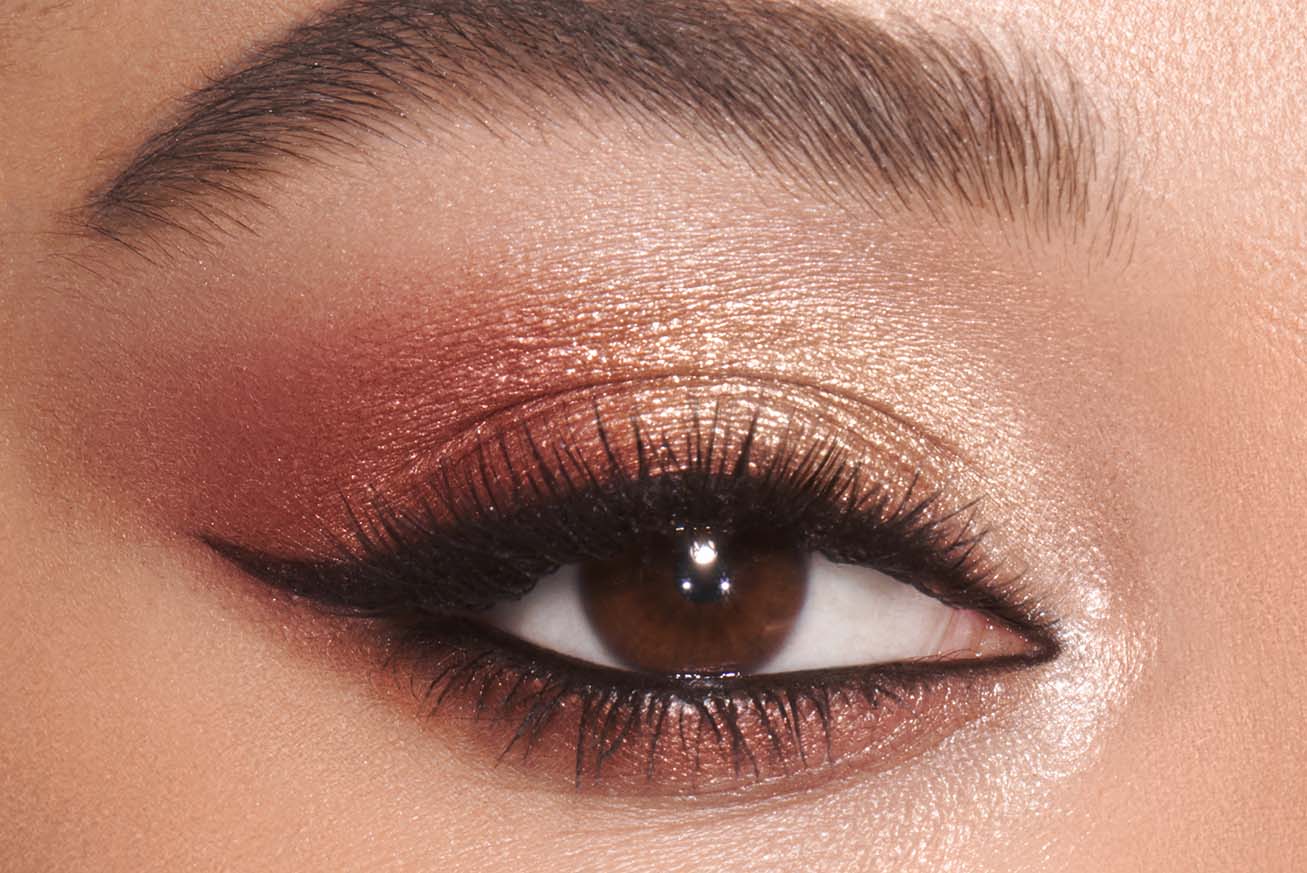
Step 5: Apply the Dark Eyeshadow
Now comes the heart of the smoky eye look: the dark eyeshadow. Choose a deep, rich color like charcoal, dark brown, or black. Using a flat shader brush, pack the dark eyeshadow onto your eyelid, focusing on the outer half of the lid. You can also apply a little bit of this shade to the outer corner of the eye in a “V” shape to create depth and elongate the eye.
Once the product is on your eyelid, switch to a clean blending brush to soften the edges of the dark eyeshadow. The goal is to avoid harsh lines, so take your time to blend the color into the transition shade. Keep building the color and blending until you achieve the intensity you desire.
Step 6: Blend, Blend, Blend
One of the most important aspects of achieving a perfect smoky eye is blending. Harsh lines can make the look appear unpolished, so be sure to use a clean blending brush to smooth out the eyeshadow and create a soft, seamless transition between colors. This is a step that should not be rushed, so take your time and blend each color thoroughly. You can even use a bit of your base shade to blend out the edges if needed.
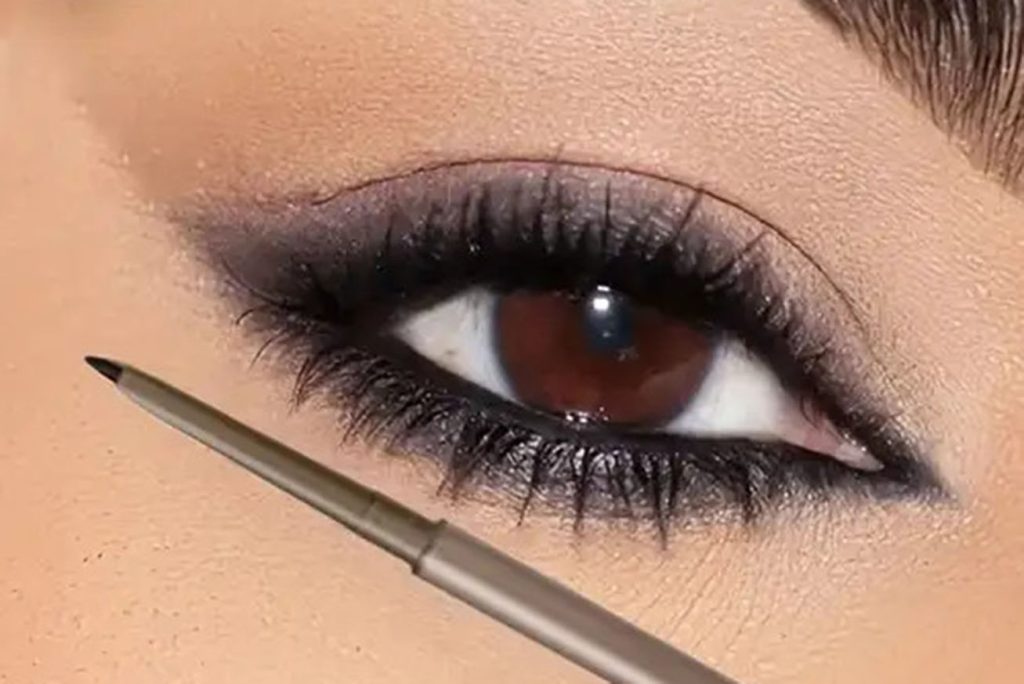
Step 7: Line Your Eyes
A smoky eye is not complete without eyeliner. Depending on how dramatic you want your look, you can either go for a thin line for definition or a thicker line for added intensity. For the most sultry effect, use a black or dark brown gel eyeliner and apply it to your upper lash line, making sure to smudge it slightly with a pencil brush for that smoky, smudged effect.
To complete the look, you can also apply eyeliner to your lower waterline for a more intense appearance. If you want to soften the look, opt for a brown or dark gray eyeliner instead of a jet-black liner.
Step 8: Add Mascara and False Lashes (Optional)
Once your eyeliner is in place, it’s time to add mascara. Apply several coats of a volumizing mascara to your upper and lower lashes to give them extra definition and length. For even more drama, you can apply false lashes or individual lash clusters. False lashes add a glamorous touch and enhance the smoky effect by making your eyes look more intense and open.
Step 9: Clean Up the Under-Eye Area
When working with dark eyeshadow, some fallout is inevitable. To keep your look fresh and clean, use a makeup wipe or a cotton swab dipped in makeup remover to clean up any fallout along the lower lash line. If necessary, apply a little bit of concealer to brighten up the under-eye area and remove any lingering traces of eyeshadow.
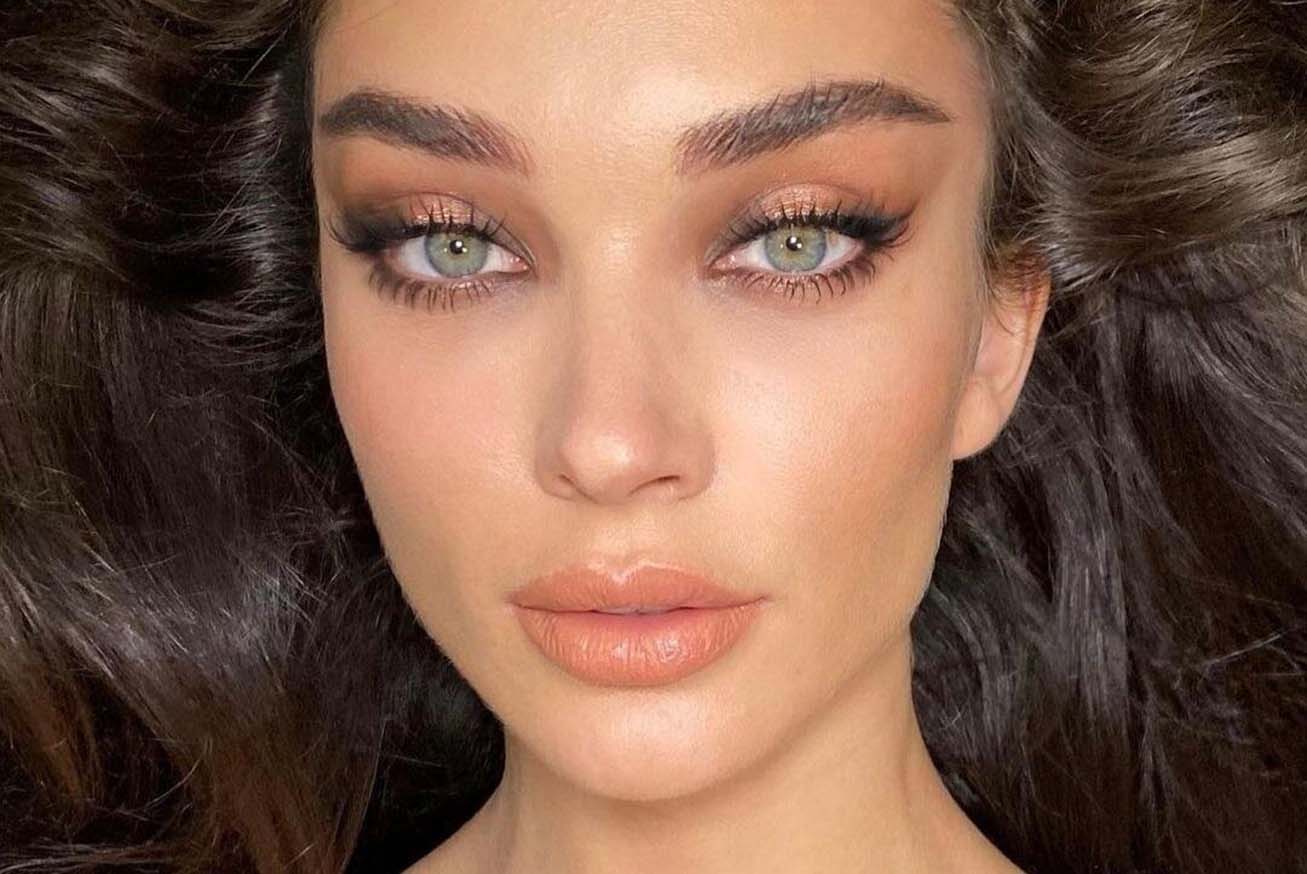
Step 10: The Final Touch – Highlight the Inner Corner and Brow Bone
To add a touch of brightness and lift to your smoky eye, apply a light, shimmery eyeshadow or highlighter to the inner corner of your eye and beneath your brow bone. This small detail can make a huge difference in opening up your eyes and creating a balanced, polished look.
Advanced Smoky Eye Techniques
Once you’ve mastered the basic smoky eye, you can take it to the next level with these advanced techniques:
1. Cut Crease Smoky Eye
The cut crease technique adds drama and precision to your smoky eye. To create a cut crease, use a concealer to carve out a defined line above your natural crease, then blend dark eyeshadow on the outer corners and lower lash line to create a bold, sculpted look. This technique works especially well if you have hooded eyes, as it helps define the crease.
2. Gradient Smoky Eye
For a softer, more dimensional smoky eye, opt for a gradient effect. Start with a light shade in the inner corner of the eye and gradually deepen the color toward the outer corner. This creates a seamless flow of color that feels more fluid and less harsh.
3. Smudged Lower Lash Line
For an edgier look, apply a deep shadow or eyeliner along your lower lash line and use a pencil brush to smudge it out. This creates a smoldering, rocker-inspired smoky eye that is perfect for nighttime events.
The smoky eye is a versatile makeup look that can be adapted to suit any occasion, from a subtle day look to a bold, dramatic nighttime style. By following the steps outlined above—from priming your eyes to blending out the dark shades—you can create a flawless smoky eye that will make your eyes the center of attention. Whether you’re a beginner or an advanced makeup artist, these tips and techniques will help you achieve a sultry, smoldering gaze every time!